How to separate views by Layout category
In the ERP.net Web Client, different user interface views can be defined for objects of the same entity, depending on the type of data they represent. This is achieved through the use of a Layout category attribute (former Object category).
A Layout category classifies objects within a single entity into semantic types, without creating separate entities or altering the data model. All objects remain part of the same entity and share the same structure, behavior, and persistence.
The Layout category value of an object is used by the Web Client to determine which layout should be applied when the object is displayed. This allows layouts to be tailored to the specific characteristics of the data, while keeping the entity model unified and consistent.
For example, customers may represent different types of organizations, such as small, large, or enterprise customers. Although all records are customers, the information that is relevant for each type may differ. Layout categories make it possible to present each type with an appropriate view, without fragmenting the entity.
The term Layout category is intentionally focused on its primary purpose — controlling layout selection in the Web Client. This naming improves clarity by explicitly linking the categorization to its role in UI customization.
Example
Different document forms will prioritise certain fields over others. When issuing a return of a product, for instance, you may want to request the original price but not the birth date of a client.Depending on its use-case, an Layout category can represent one or more types - Customer Type, Asset Type and Document Type. Thus, it's possible to start creating a document or an entity with a layout category already selected for it.
Here's a list of data types and supported Layout categories:
Applications / Asset Мanagement: Managed Asset - Managed Asset Type
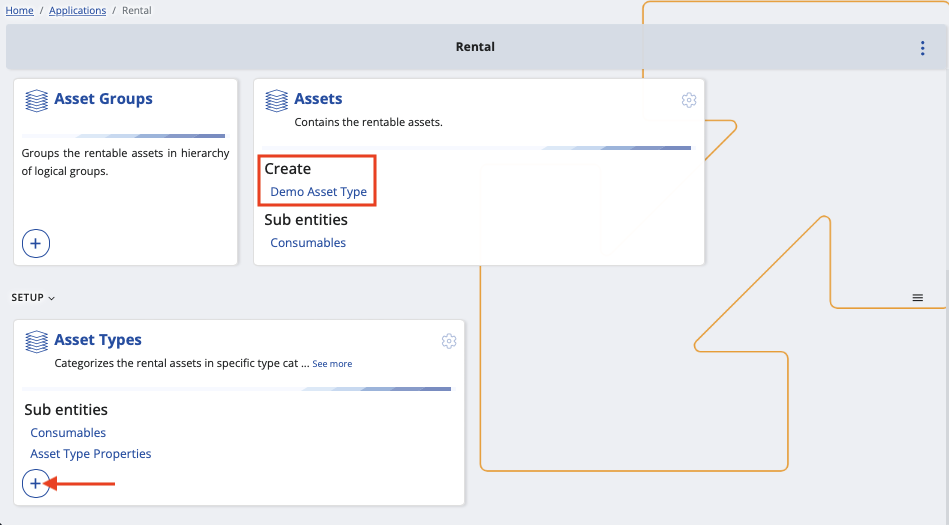
Applications / Rental: Asset - Asset Type
Applications / Service: Service Object - Service Object Type
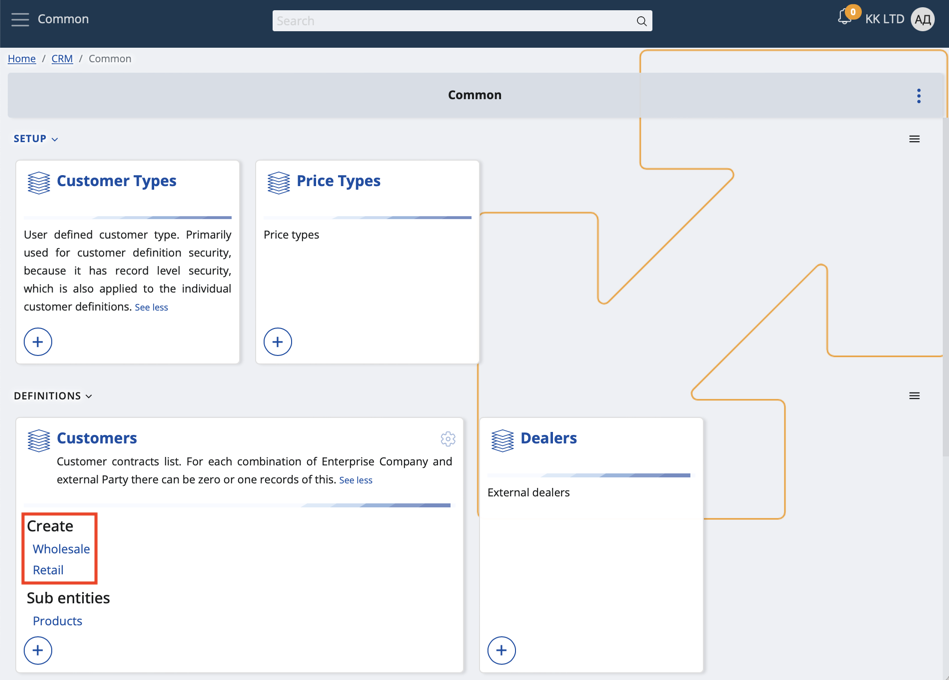
CRM / Common: Customer - Customer Type
Finance / Assets: Asset - Asset Category
General / Common: Parties - Party Type (exception, because it is an Entity Type specifier)
General / Common: Document - Document Type (exception, because documents are also separated by leaf entity type)
General / Products: Products - Product Type
Logistics / Common: Logistic Units - Logistic Unit Type
Logistics / Procurement: Supplier - Supplier Type
Process
- You need to have at least one type of a document.
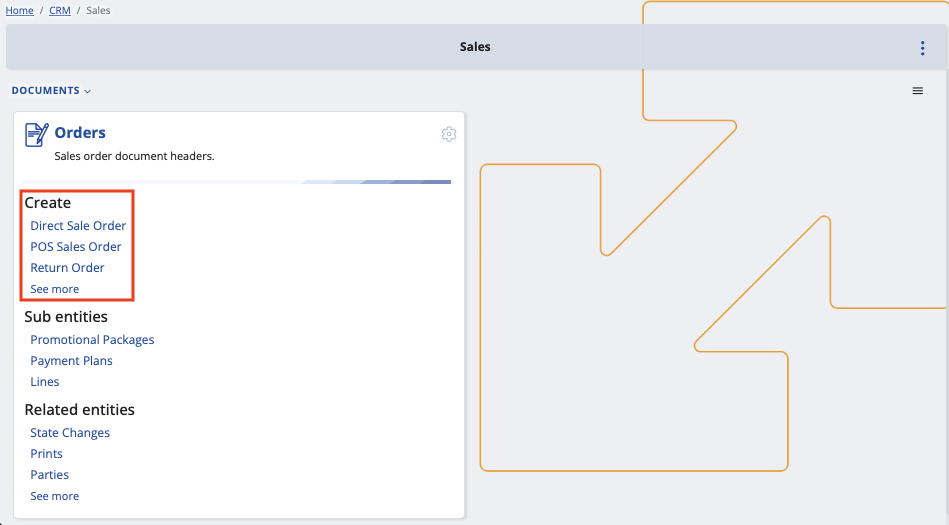
For example, the Create section of the Orders panel may offer a direct sales order, a POS sales order, a standard sales order, and more.
If the available options are not what you're looking for, you can manually add custom document types.
This is typically done with the circular plus button found on the respective panel.
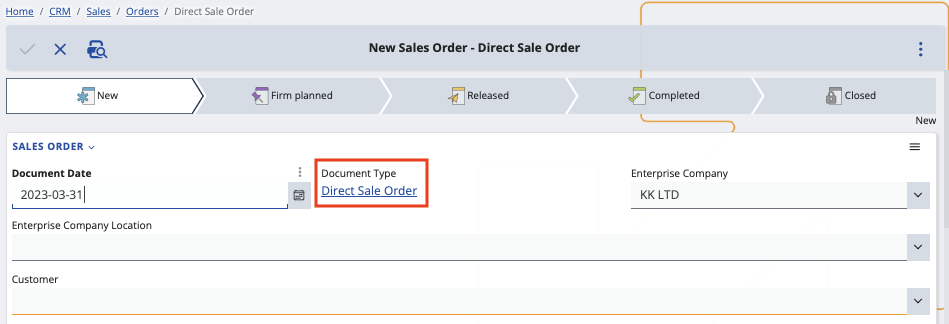
- Click a document type visualized on the main panel (e.g. Direct Sale Order)
This will take you to the creation form of the document where a layout category is already applied.
Keep in mind that the field will be read-only and unable to be changed.
- Customize the view of the form through the Show/hide fields window. This allows you to enable or disable specific fields.
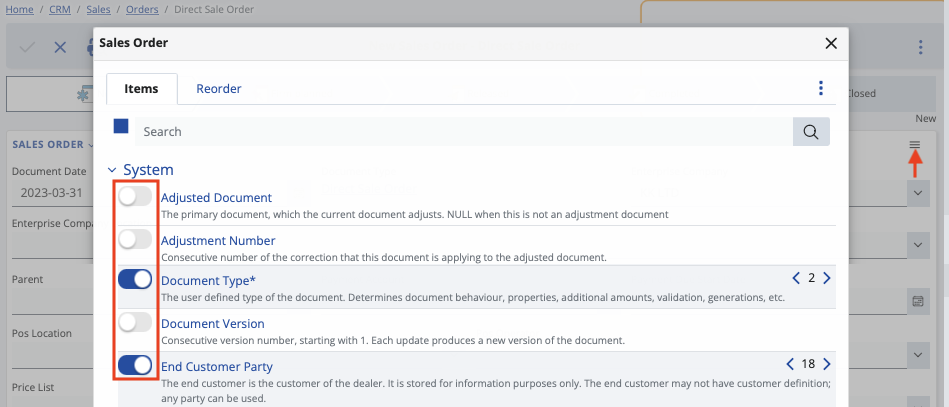
Clicking outside the window once will save the view for the current document, but the settings will be reset for another document.
Every time you're creating a direct sales order, your experience will be unique from, say, creating a return order.