Features in Groups
Groups is a sub-section of My that provides a convenient platform for effortless communication, document exchange, task scheduling, and assignment among you and your colleagues.
Groups are created by an Admin in the platform when they are needed, between people in the same company.
Chat
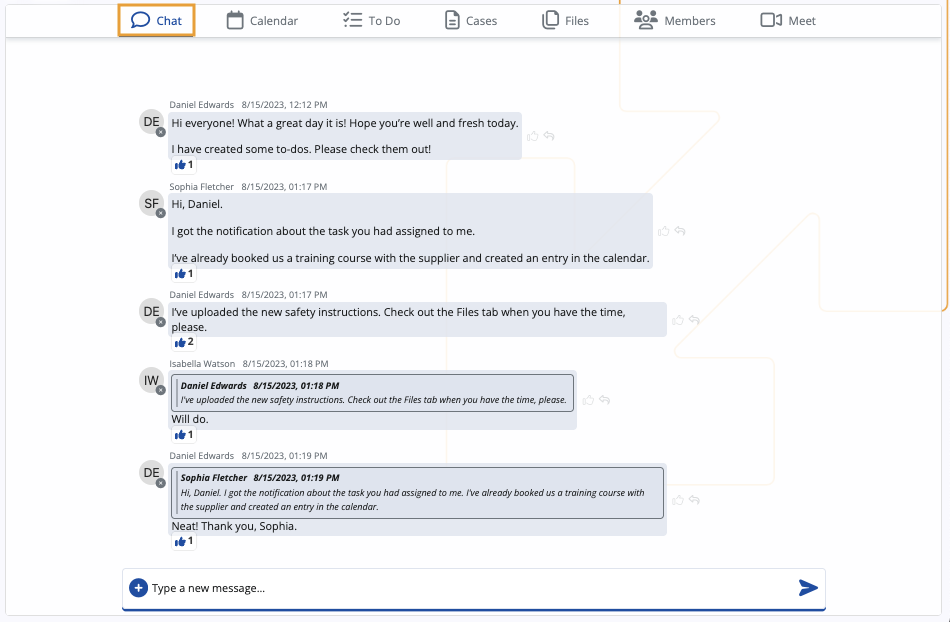
The Chat tab facilitates rapid communication among group participants.
It offers standard industry features such as message previewing and sending, reacting to and replying to messages from others, and even editing one's messages.
Calendar
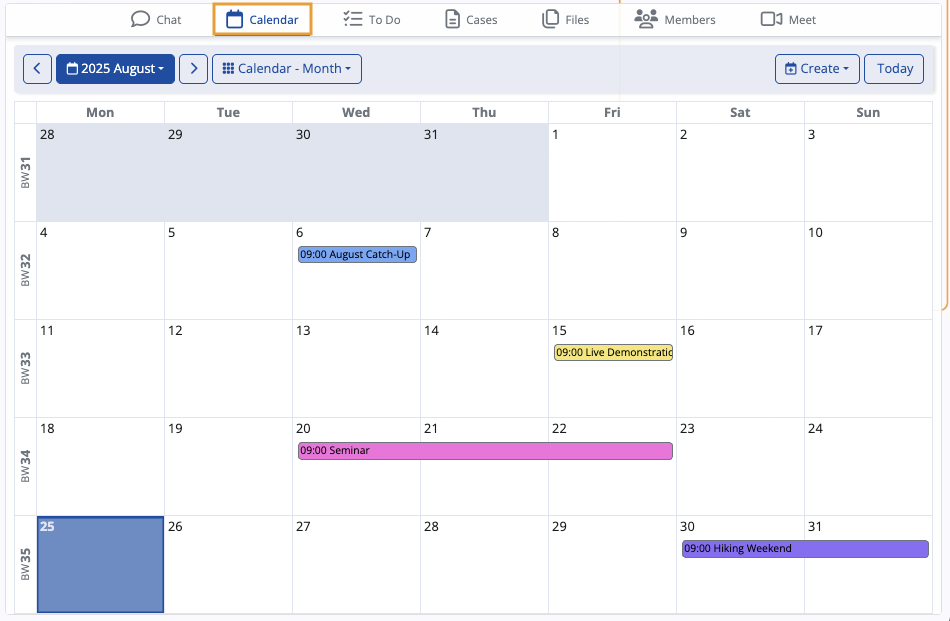
The Calendar tab enables authorized members to create and view a range of events and meetings visible to the entire group.
Any group activities you create or participate in will also be reflected in your Calendar.
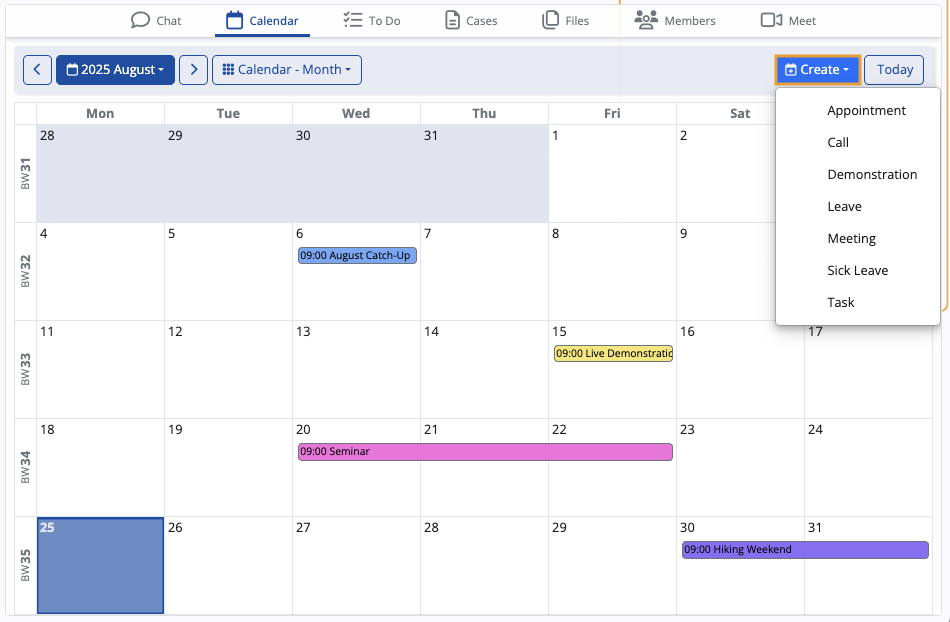
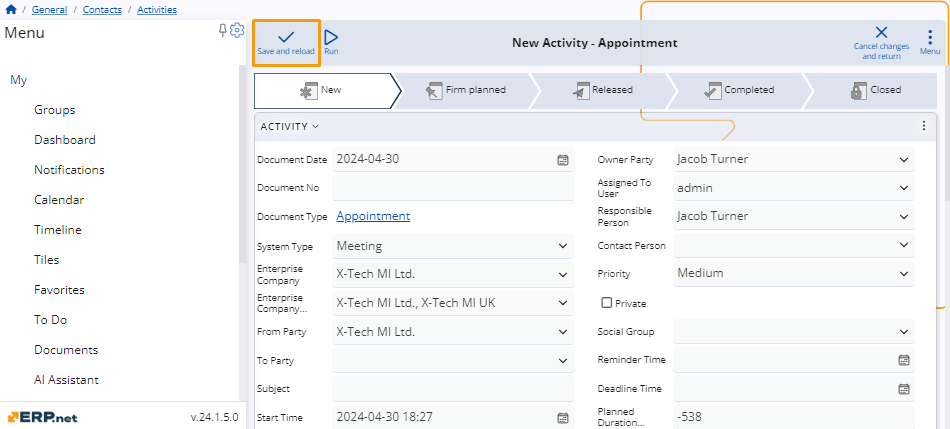
Create a new activity
Use the Create button to create a new activity.
Choose the type of activity you want to create from the dropdown list.
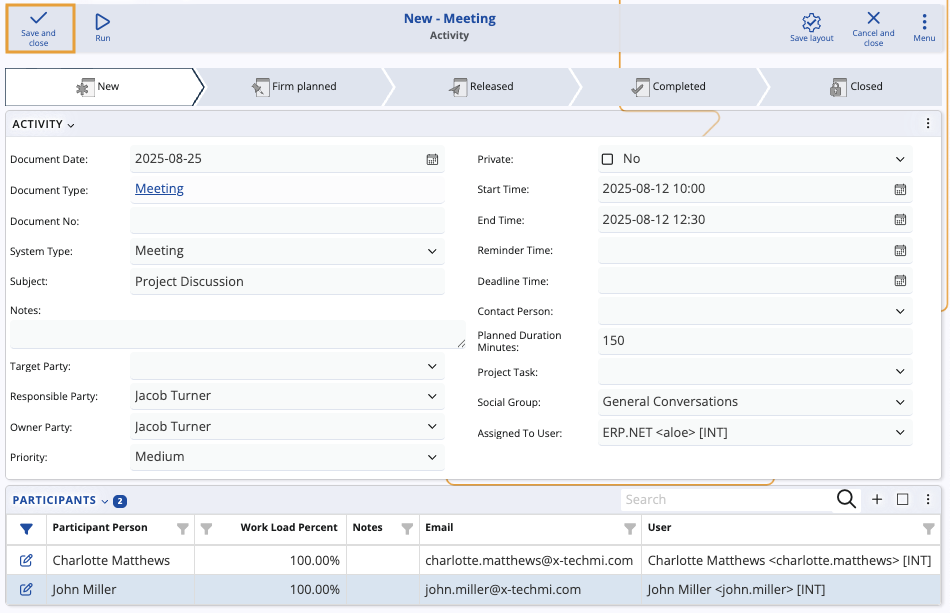
To create a new activity you need to fill a form with information about the activity and the participants in it.
Once you fill every field, click Save and reload and the activity will be added to the calendar.
Business Week Number
The group Calendar makes use of the Business Week standard which is used to track the number of weeks in a year, ensuring each week corresponds to its respective calendar year.
You can read more about how it's implemented here.
Activity access
Group activities where you are not a Participant, Responsible Party or Owner will still appear in the Calendar of the group you are a member of, but NOT in your personal Calendar.
If you're not a member of a group, its activities will not be shown in your Calendar, nor can be accessible through the Navigator, Global Search, and when accessing it directly via link or ID. Even if you once were a member and were subsequently removed from that group, all access to its activities is automatically revoked.
Below, you can see how the My Calendar interface looks when group activites are automatically synced from the social group a user is part of.

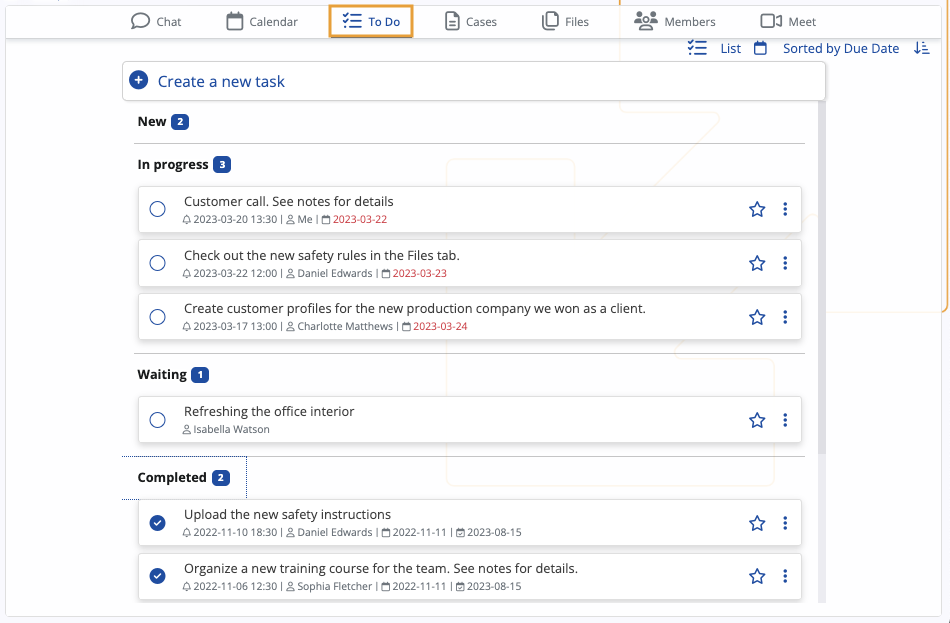
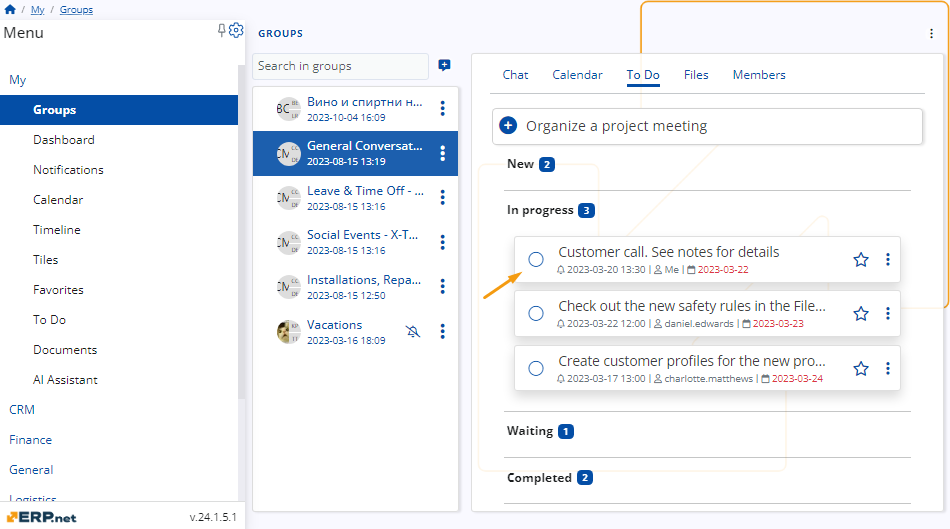
To Do
The To Do tab showcases tasks assigned to both yourself and fellow group members, allowing you to mark those ready for completion.
With Member or Admin permissions, you can create new tasks and assign them to others.
Any to-dos added or assigned to you will also be visible in your personal Do space.
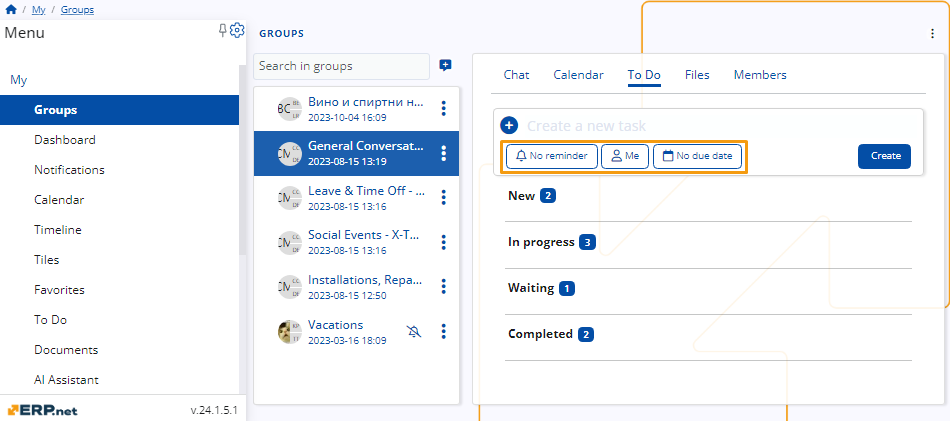
Create a To-Do task
To create a task click on the circular button with a + on it.
 You can establish both a reminder and a due date for the task.

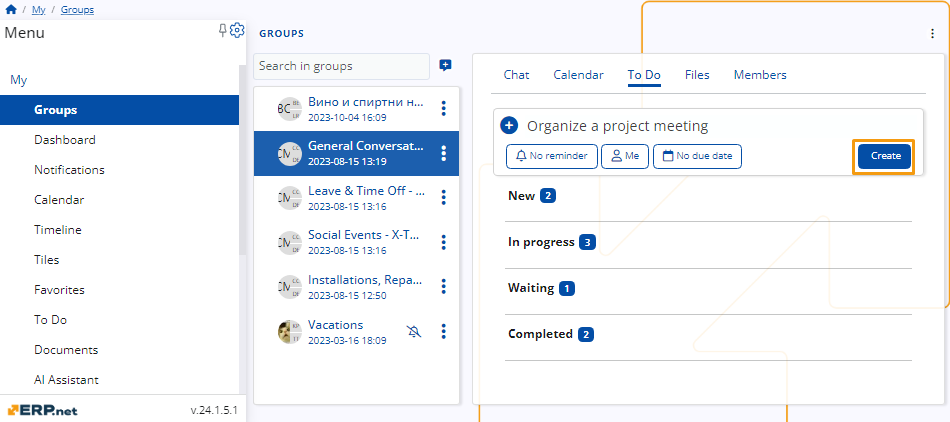
Once you’ve given a name and have set up the reminder, the person it’s assigned to, and the due date, click on the Create button to add it to the list of tasks.
Once the task is completed, click on the radio button next to it to mark it as done.
Tasks also offer various statuses like New, In** Progress**, or Waiting to indicate their progress.
Cases
Cases are accessible directly within Social Groups through a dedicated Cases tab. When opened, the tab displays a grid navigator listing all Cases assigned for attention to that group. Group members can view and access these Cases, enabling them to follow up and work on them within the relevant team context.
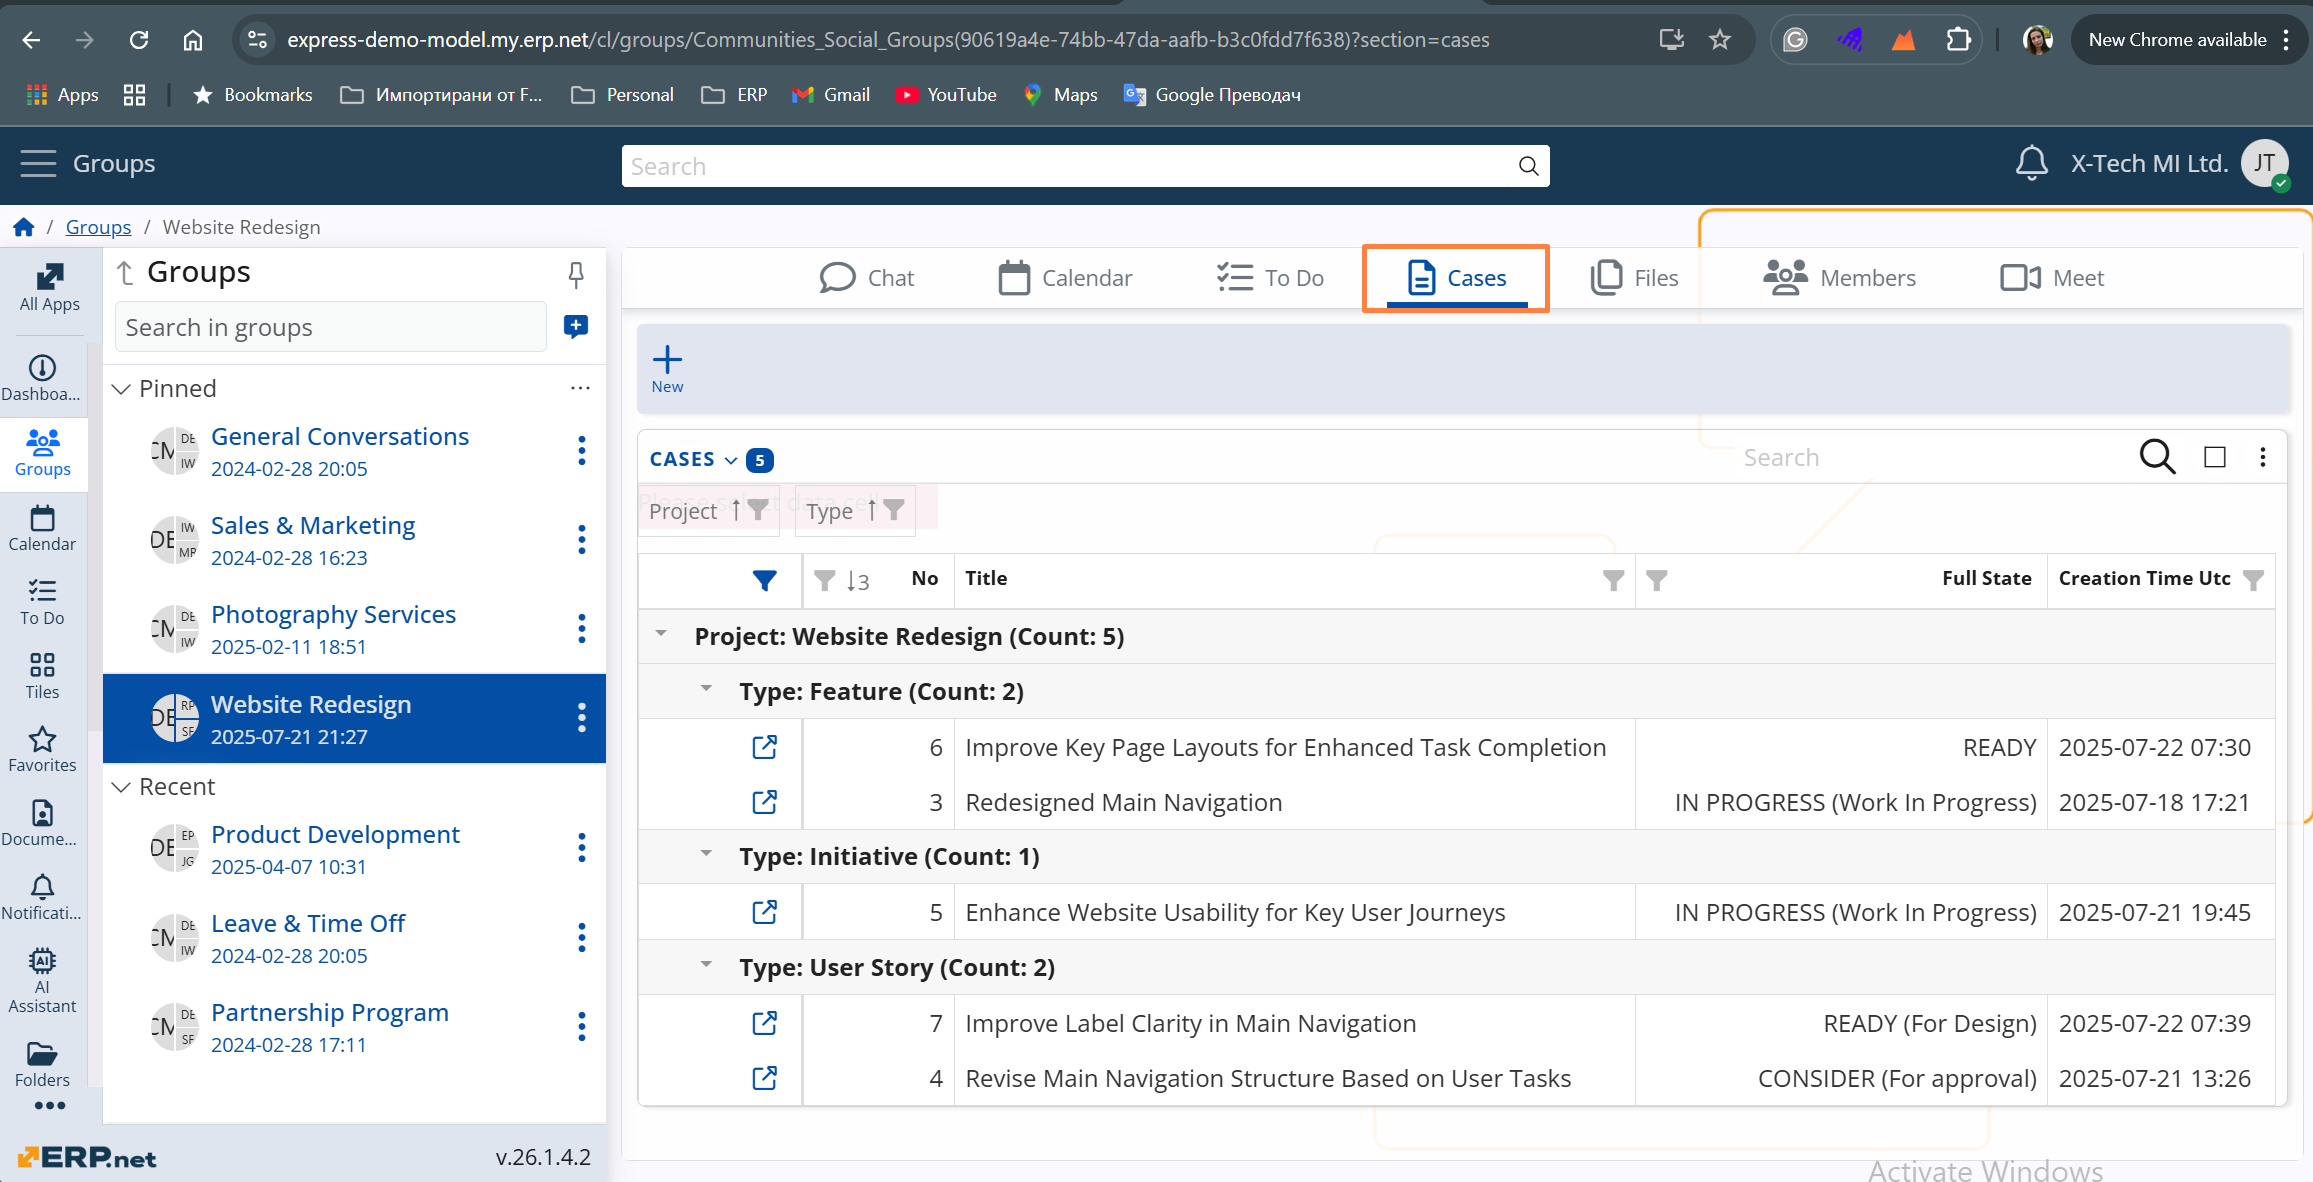
Create a new Case
Cick on the "+ New "button at the top ribbon and choose a case category. The platform will redirect you to the form of the Case, where you need to fill the applicable data.
Note that the newly created Case will be connected with the Social group, that is set into the Project of the new case, not with the group it is being created through. If the Project does not have any Group, the new case will not be assigned a group too. You will need to choose the Group on purpose, so that the case appears in the grid of tab Cases of the correct Group.
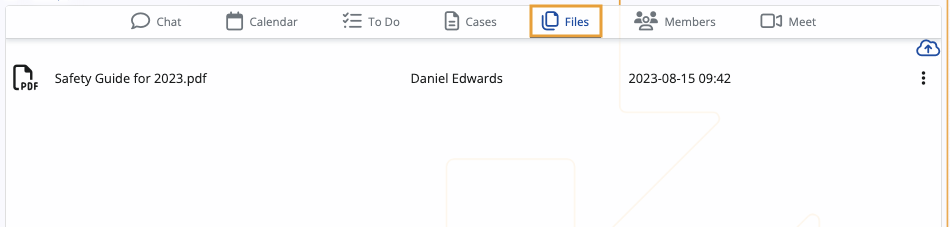
Files
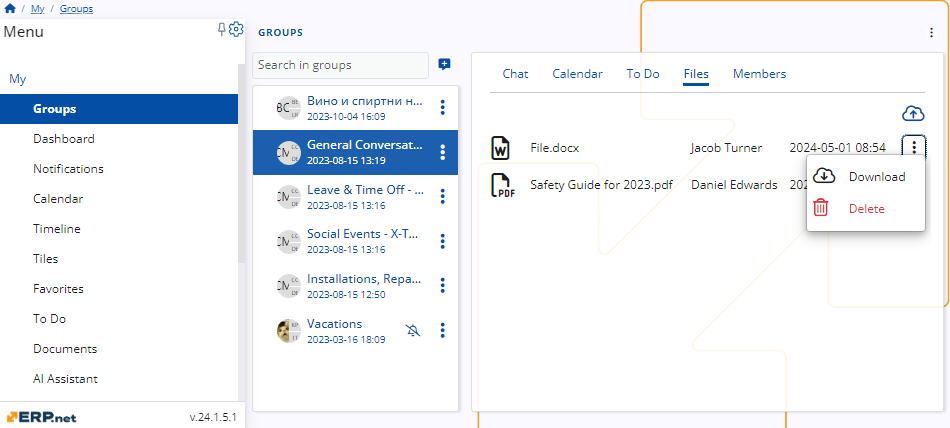
Within the Files tab, you have access to file attachments uploaded by either yourself or other group members.
Each file includes details such as its format, the name of the author, and the date and time of upload.
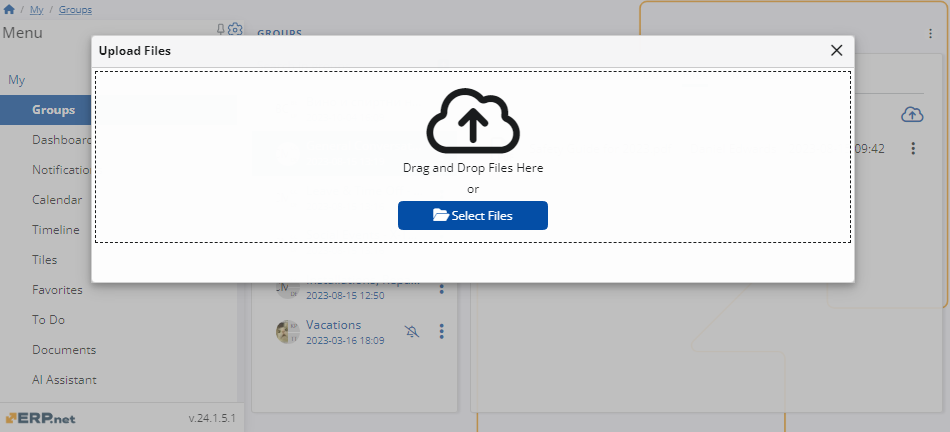
Upload files
To upload files to the group, click on the cloud icon located at the top left of the screen.
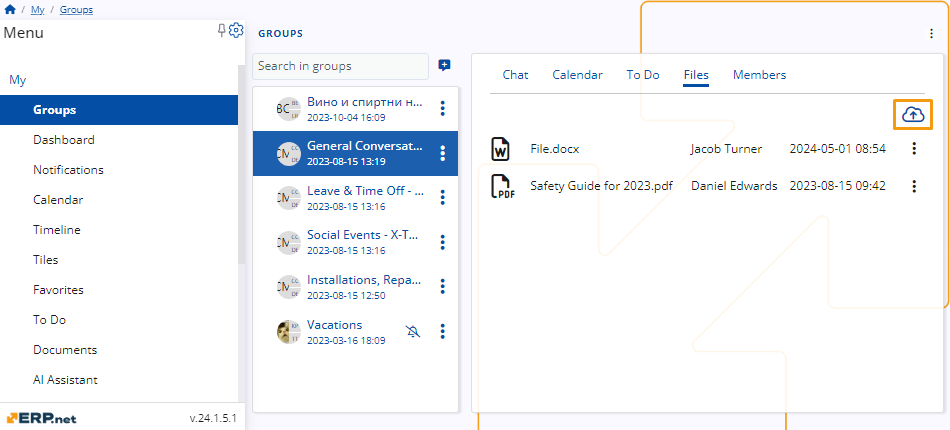
Upon doing so, a new window will appear. Here, you have the option to either drag and drop the file you wish to upload or browse your files and select the desired one.
File settings
To download or delete a file from the group, click on the three-dot button situated on the right side of the file.
From there, you can select the desired option to proceed.
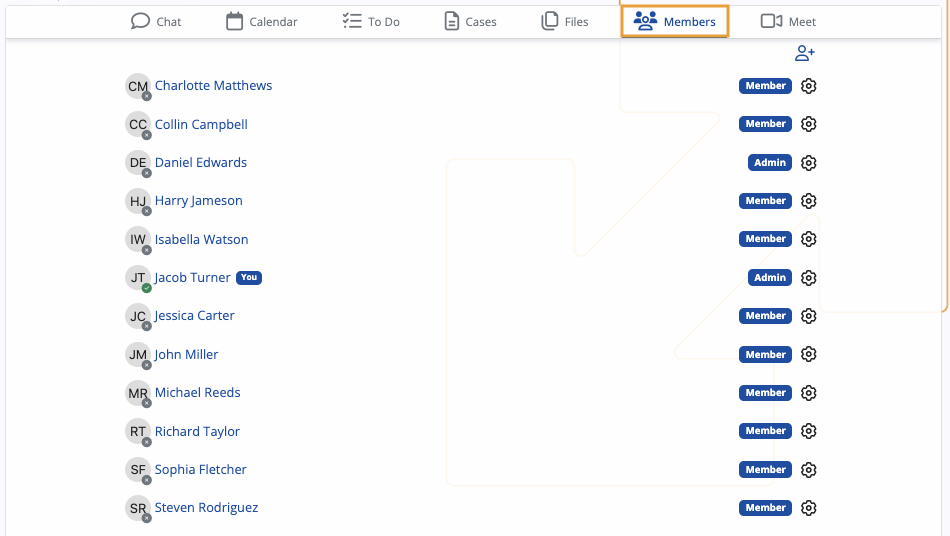
Members
The Members tab contains a list of all members within the current group along with their respective roles.
Admins have the exclusive authority to add or remove participants and adjust their permission levels as needed.
Admin settings
Users assigned the Admin role within the group possess the authority to add members, modify their roles, and remove them from the group.
Add member
To add a new member to the group, click the Add member button in the top left corner.
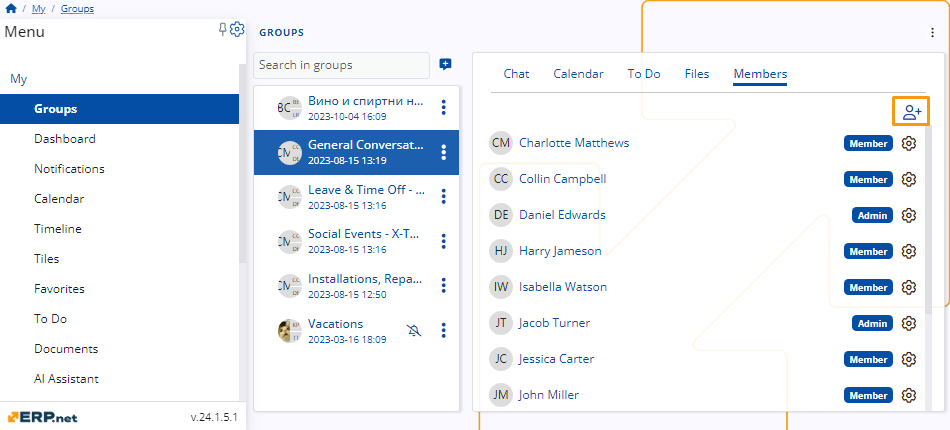
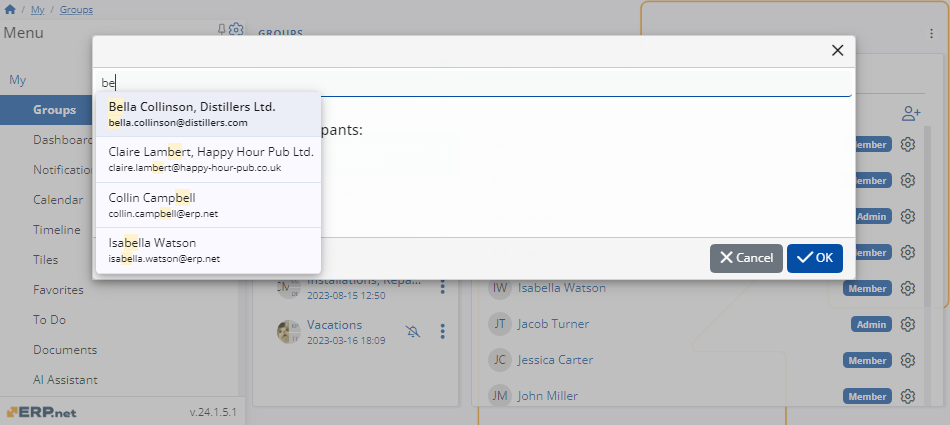
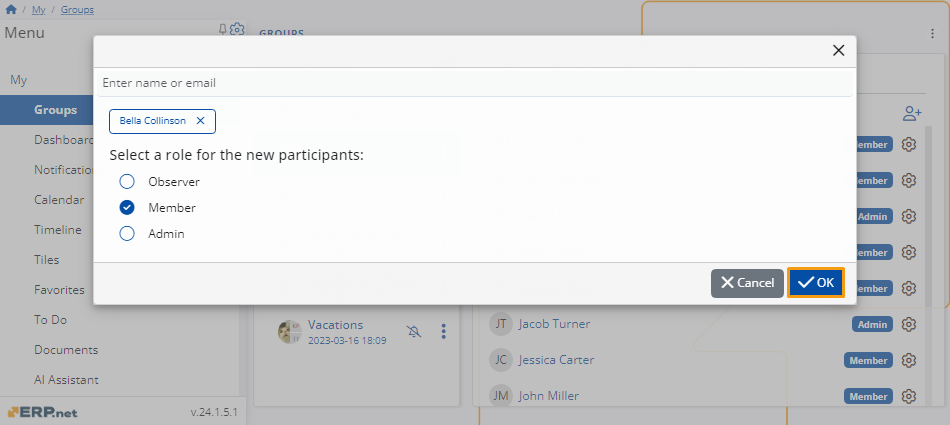
This action will prompt a new window to appear, where you'll need to input the individual's name or email address and specify their role within the group.

As you begin typing the name or email, a drop-down menu will provide suggestions to assist you in locating the user.
After completing the necessary steps, click OK to confirm and finalize the process.
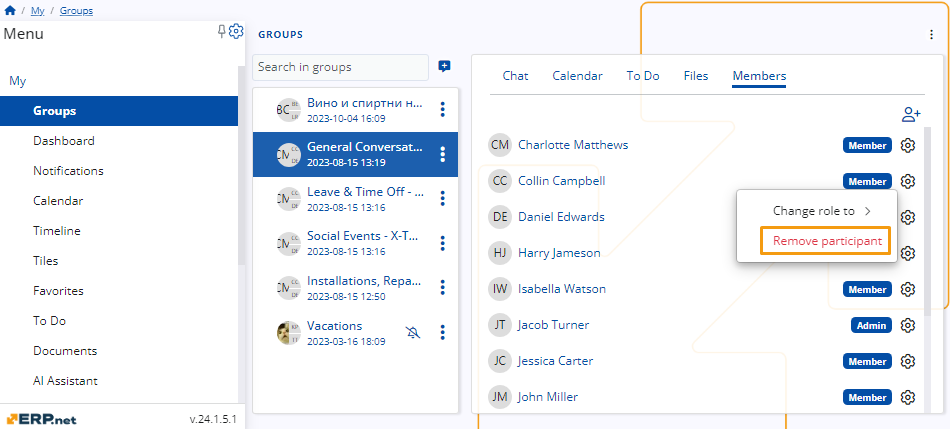
Change role
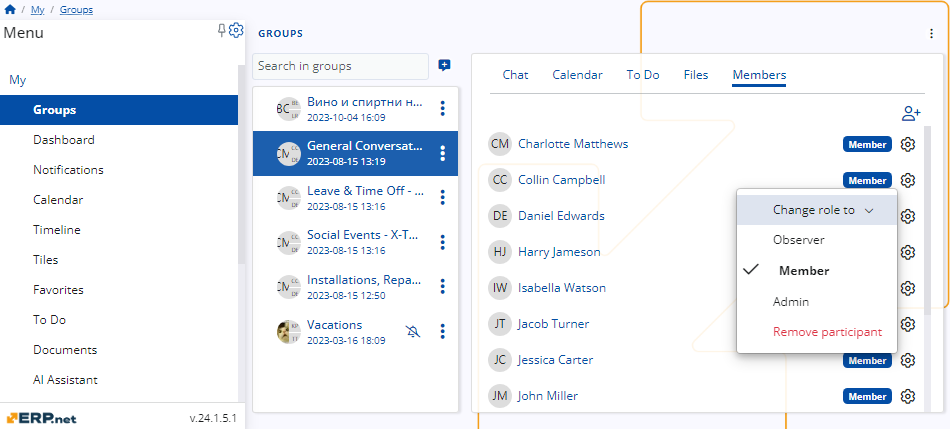
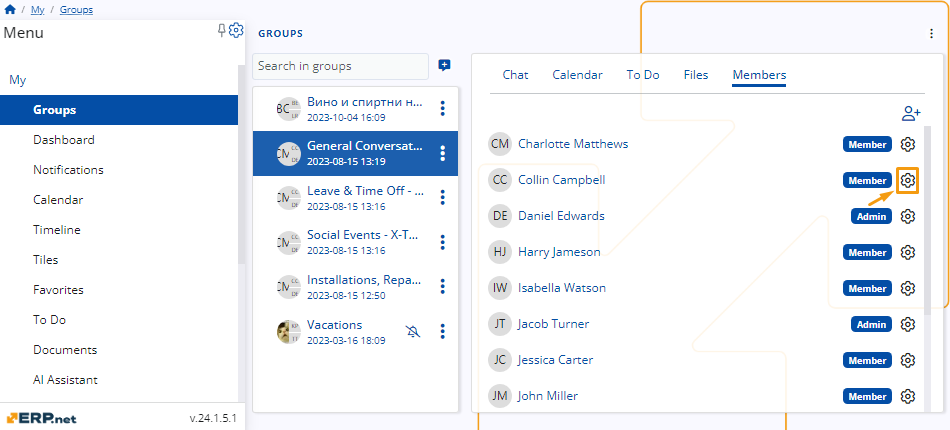
To modify a member's role, click on the settings icon located on the right side of the user's profile.

Then, click on the Change role to option. This will open the roles drop-down menu, allowing you to select the new role you wish to assign to the member.
Remove participant
To modify a member's role, click on the settings icon located on the right side of the user's profile.
Once you’ve done that click the Remove participant button.
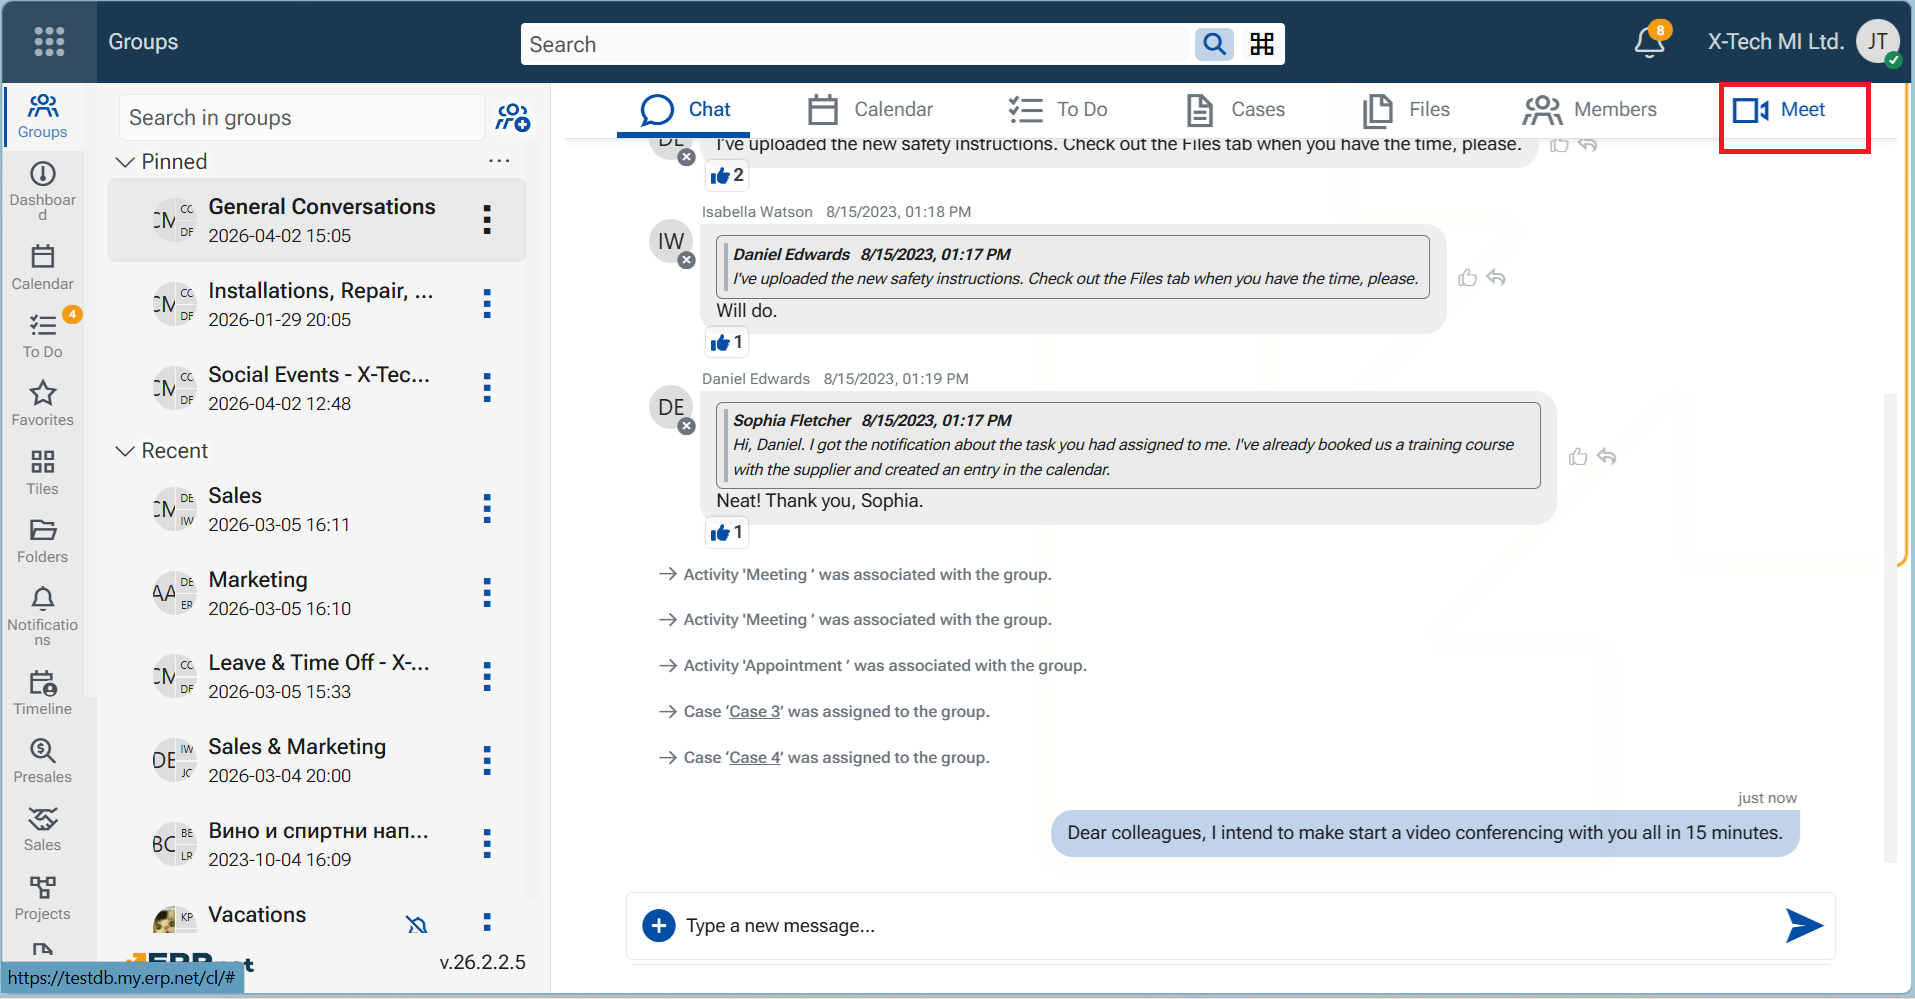
Meet
The Meet feature (Video Conferencing) enables real-time video conferencing directly within the system, allowing users to initiate and participate in online meetings without leaving their working context. It is designed to support immediate communication and collaboration across teams by integrating video meetings into the environments where work is already managed.
Our company has chosen jaas.8x8.vc platform for this feature.
Meet is available within Groups and can also be initiated from business-related records, including Cases, Activities, Service Activities and Marketing Activities.
Meetings can also be recorded.
A complete guide on Meet is available HERE.